I may need a new door gasket soon for my PE Alderlea T5 insert. It seems that I've been replacing it every couple years. I asked my dealer why they need to keep replacing it, and he just shook his head and said "I don't know." Next time I'll replace it myself, since it costs a good bit for each replacement Does anyone have any thoughts as to why the door gasket might be wearing out so soon as to need replacement every 2 years?
Thanks!
Thanks!
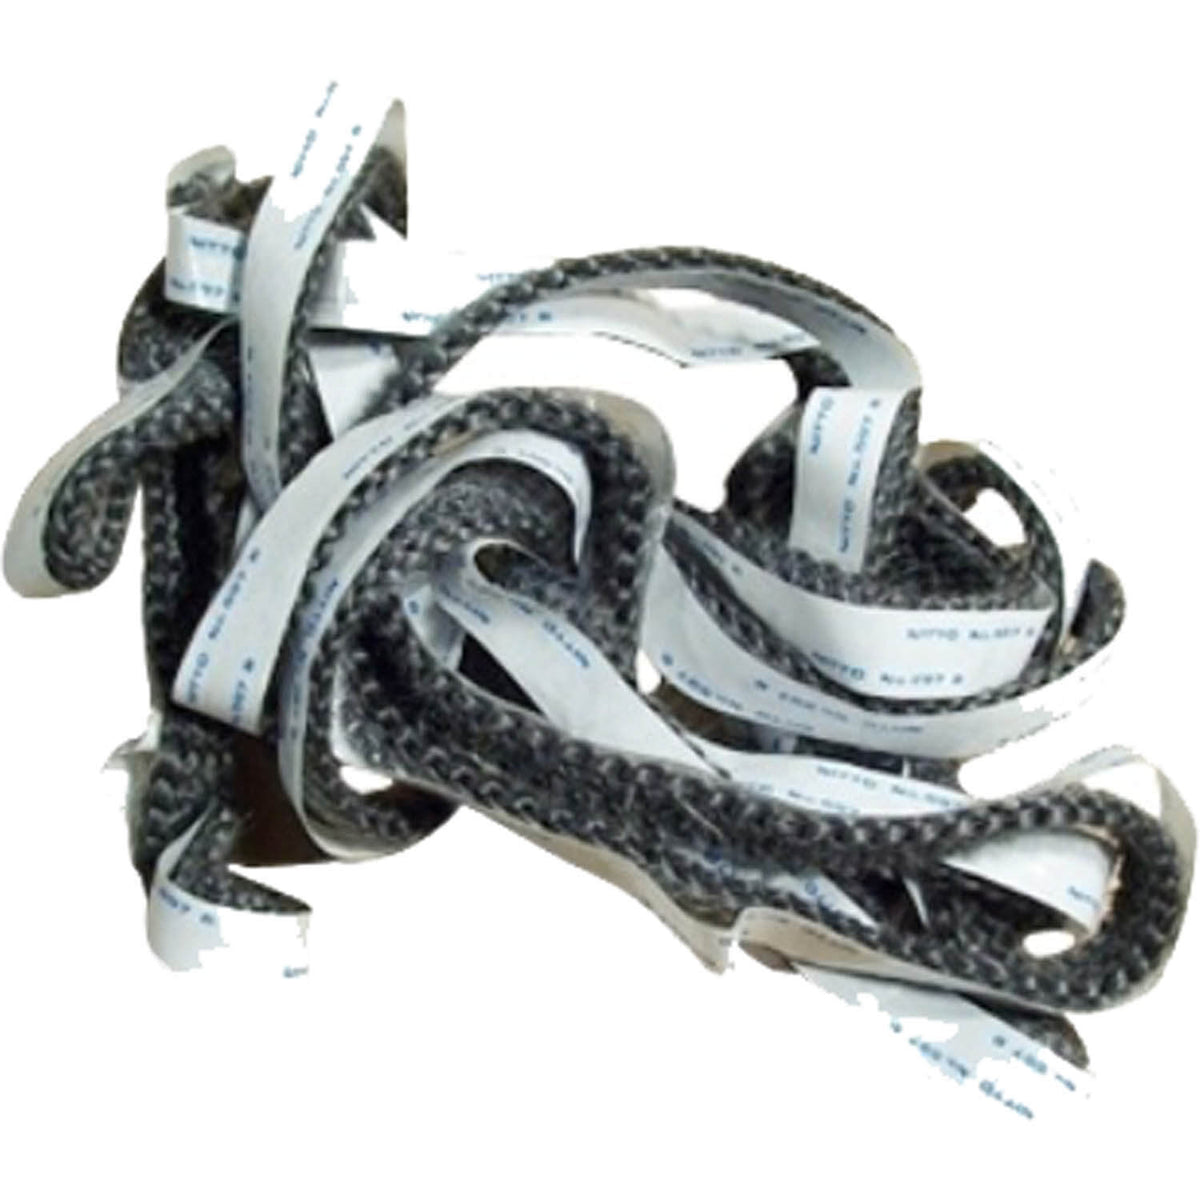
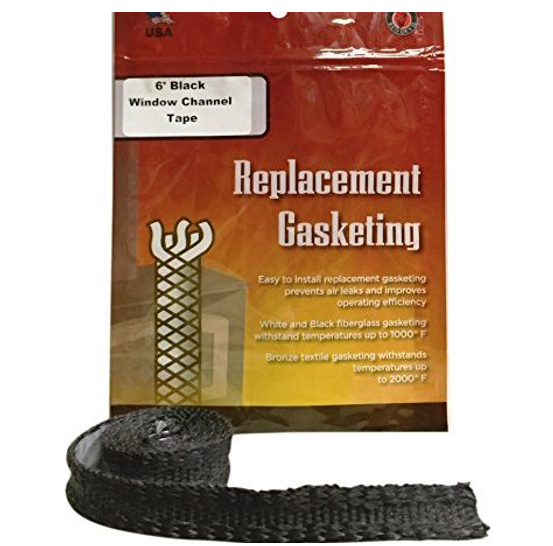
![[Hearth.com] Pacific Energy Alderlea T5 insert door gasket replacement](/talk/data/attachments/337/337765-a5199b388292a968cac9a606d5790ee7.jpg?hash=G9NNQAJBjz)