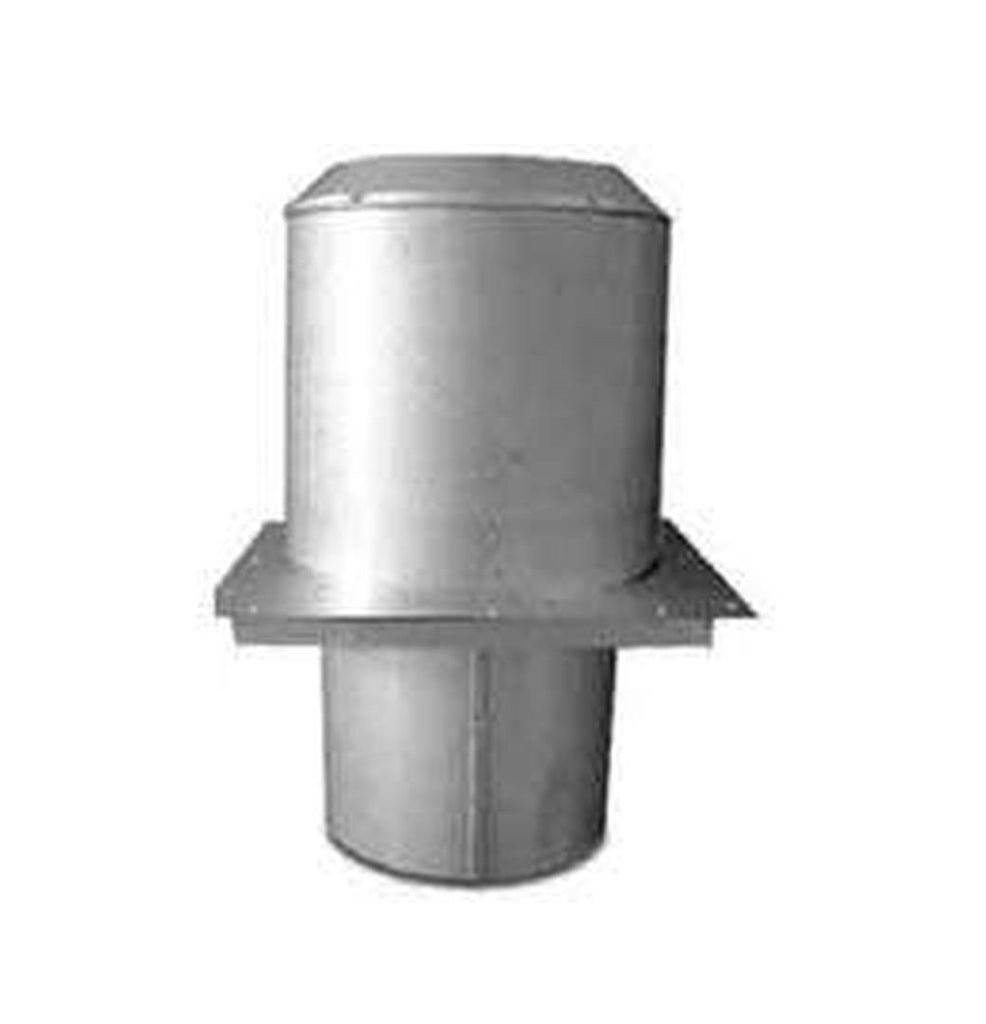
Renting a home with a wood stove. Apparently the stove pipe was installed upside down. Crimped edges were facing up. Pipe rotted at base at stove opening. I bought two replacment pipes but due to the interior pipe not having a male end i cannot pipes to stove. One pic is before I took it apart.I need to fit two pieces in between the stove opening.and the part that comes down from ceiling. How?
![[Hearth.com] Stove pipe dilema](https://www.hearth.com/talk/attachments/img_20211113_101734-webp.285930/ "[Hearth.com] Stove pipe dilema")
![[Hearth.com] Stove pipe dilema](https://www.hearth.com/talk/data/attachments/285/285958-9167f85e4b3cbb2a939cef582018f078.jpg?hash=lZ3Jq-jhHk "[Hearth.com] Stove pipe dilema")
![[Hearth.com] Stove pipe dilema](https://www.hearth.com/talk/data/attachments/285/285971-5426330cdfcd2ee19c9ae2b8ce602d2a.jpg?hash=suTdRqlT7c "[Hearth.com] Stove pipe dilema")
![[Hearth.com] Stove pipe dilema](https://www.hearth.com/talk/data/attachments/285/285974-5426330cdfcd2ee19c9ae2b8ce602d2a.jpg?hash=suTdRqlT7c "[Hearth.com] Stove pipe dilema")
![[Hearth.com] Stove pipe dilema](https://www.hearth.com/talk/data/attachments/285/285975-9167f85e4b3cbb2a939cef582018f078.jpg?hash=lZ3Jq-jhHk "[Hearth.com] Stove pipe dilema")
![[Hearth.com] Stove pipe dilema](https://www.hearth.com/talk/data/attachments/286/286078-bc05de0a5e60e34c59eecd72002d9972.jpg?hash=HeskZiwKJX "[Hearth.com] Stove pipe dilema")