
Greetings
I've been lurking on here for a while and learning a lot about wood stoves.(thanks to a lot of great post on here) I finally decided get one.
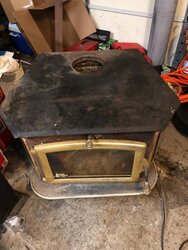
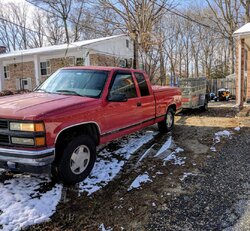
So a Buck model 91(1991 version) appeared on craigslist for $200. So with that said not much motivation was needed get read for a trip. Snow and a little sleet wasn't enough to let this one pass by!
For the last 3 winters I've run this home brewed heat exchanger to try to recover some of the lost energy from the fire place. It creates 15 degree rise 20 foot area but the room still feels drafty...

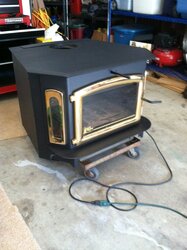
Enter Buck model 91


Its been sitting for a bit so she could use some TLC....
I plan on changing...
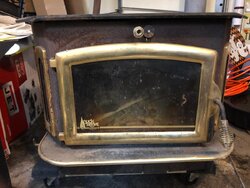
the door gasket
Cat
Ash pan gasket
Questions I have are..
Any recommendation on paint?
Any issue with sandblasting rusted area's?
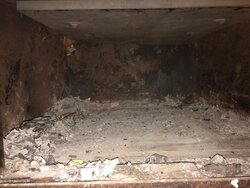
I also noticed this unit only has fire brick on the floor of the burn box vs 2013 version my buddy has that has fire brick around the sides as well.... Would the additional fire brick be attached with an adhesive or pressure fitted to the sides?
Anything else I should consider when restoring this stove?
I've been lurking on here for a while and learning a lot about wood stoves.(thanks to a lot of great post on here) I finally decided get one.
So a Buck model 91(1991 version) appeared on craigslist for $200. So with that said not much motivation was needed get read for a trip. Snow and a little sleet wasn't enough to let this one pass by!
For the last 3 winters I've run this home brewed heat exchanger to try to recover some of the lost energy from the fire place. It creates 15 degree rise 20 foot area but the room still feels drafty...
Enter Buck model 91
Its been sitting for a bit so she could use some TLC....
I plan on changing...
the door gasket
Cat
Ash pan gasket
Questions I have are..
Any recommendation on paint?
Any issue with sandblasting rusted area's?
I also noticed this unit only has fire brick on the floor of the burn box vs 2013 version my buddy has that has fire brick around the sides as well.... Would the additional fire brick be attached with an adhesive or pressure fitted to the sides?
Anything else I should consider when restoring this stove?
Attachments
Last edited:

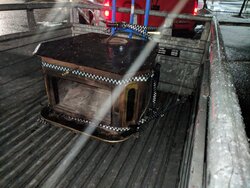
") Nice grab, you can hardly go wrong at that price! I got the '08 for 1K, and thought that was a deal. Man, what happened, that cat flame shield is perfectly flat!
Nice grab, you can hardly go wrong at that price! I got the '08 for 1K, and thought that was a deal. Man, what happened, that cat flame shield is perfectly flat! 


.JPG")


.JPG")
.JPG")


")


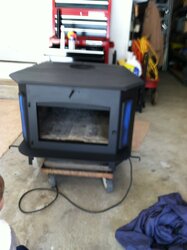
 Just take the shield out, put on some hearing protection, and beat the shield flat with a rubber mallet.