
Hello,
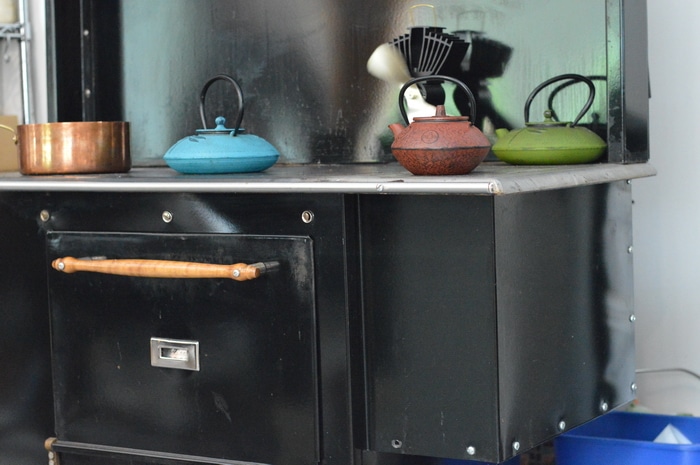
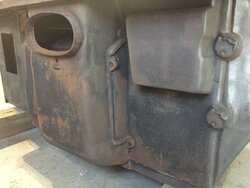
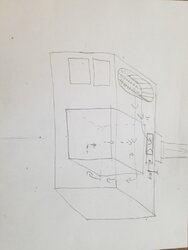
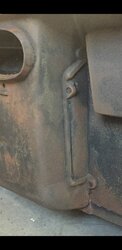
I have attempted to do "due diligence" in searching the forum but have been unsuccessful in finding answers to my questions. My wife and I have purchased a wood burning cook stove which is in need of some TLC. There is a moderate amount of rust on the outside and inside of the stove and some rust/pitting on the cook surface. The stove itself appears to be very salvageable and I hope to do that and use it in the near future. I would appreciate some help in knowing what to do. I would plan on wire brushing the exterior of the stove and then painting it with a high temp paint. For the cook surface I was thinking of sanding the surface rust and some of the pitting with 220 then progressively higher grit paper to bring that surface back, however I really don't know what I'm supposed to do to treat that surface once I'm done. I am new to this and would appreciate any suggestions and or more likely corrections! Thank you
I have attempted to do "due diligence" in searching the forum but have been unsuccessful in finding answers to my questions. My wife and I have purchased a wood burning cook stove which is in need of some TLC. There is a moderate amount of rust on the outside and inside of the stove and some rust/pitting on the cook surface. The stove itself appears to be very salvageable and I hope to do that and use it in the near future. I would appreciate some help in knowing what to do. I would plan on wire brushing the exterior of the stove and then painting it with a high temp paint. For the cook surface I was thinking of sanding the surface rust and some of the pitting with 220 then progressively higher grit paper to bring that surface back, however I really don't know what I'm supposed to do to treat that surface once I'm done. I am new to this and would appreciate any suggestions and or more likely corrections! Thank you


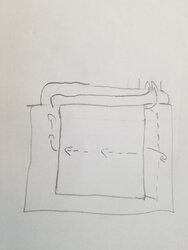

") Could I use wood during the day and then use coal for the over night burn?
Could I use wood during the day and then use coal for the over night burn?


