
Two questions here. Has anyone ever shortened a piece of pellet vent ? I see you can buy and adjustable 18" piece that you can cut as short as 3" . I have a ft long piece that says you can trim till 10" but the way it looks you can go all the way to 3 as the inner/outer pipes go all the way into the male end that is riveted on. With my 5 inch corner clearance leaves me around an 1-1/2 to connect. 3" would just bring me out just a bit. Instead of the twist lock the pipe has 3 holes drilled in. I was surprised how close the 3" wall brackets are to the vinyl siding. It has the tee in most of the way.
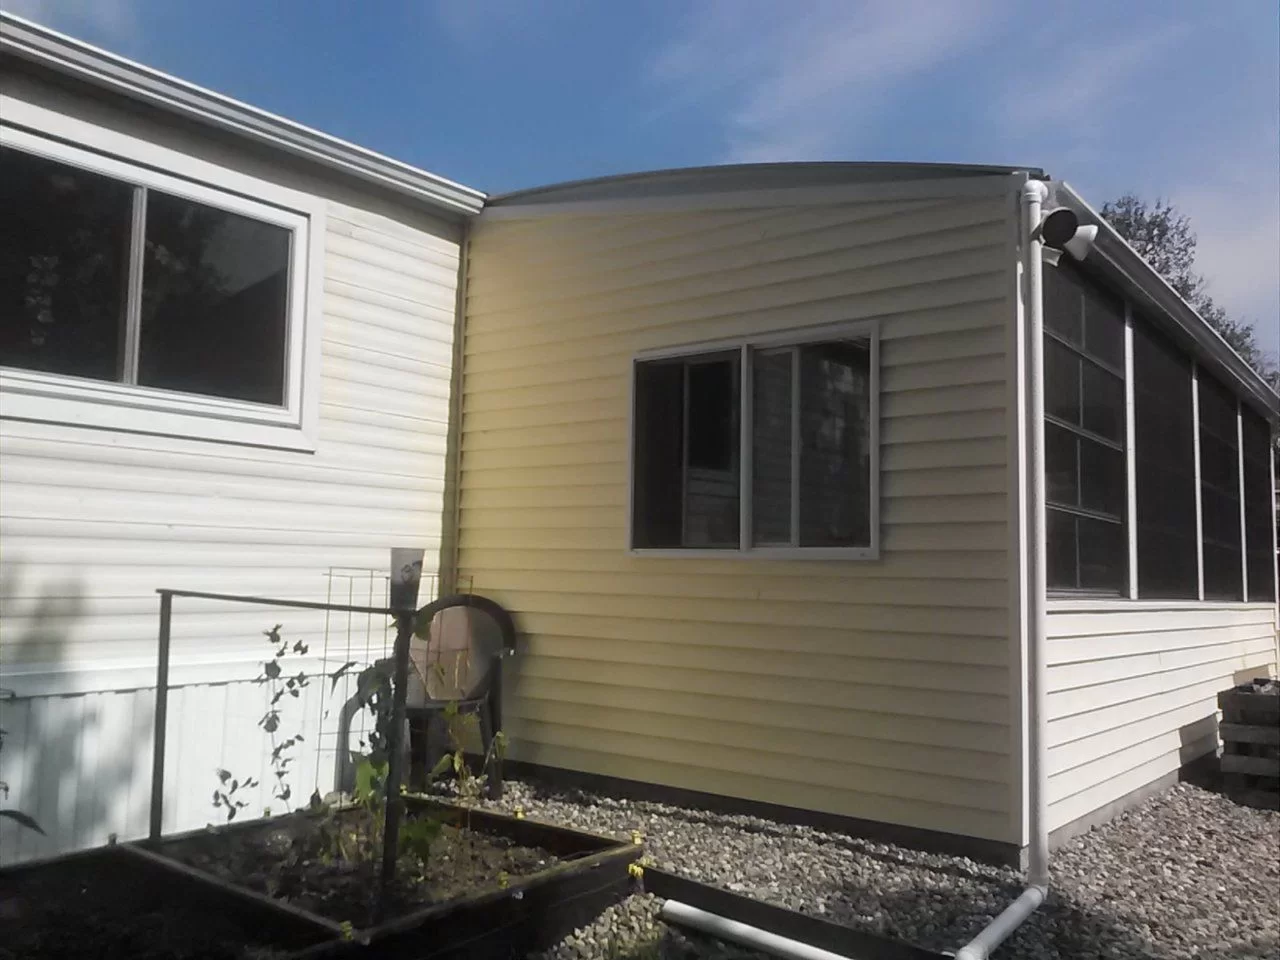
As for the way the vent, I 45'd from the stove to the tee sideways under the window 7 ft horizontal ( I'm allowed 10 horizontal with a minimum of 3' up.) I have 4- up. Then 2nd ell then 6" into the hood which gives me 12" away from the vinyl siding. Actually a bit more with the addition of another wall bracket on the vertical rise. I'm allowed 18" away from the window if I have an oak, which I do. So does the outside casing of the vent get very warm ? Thanks for comments. GBY
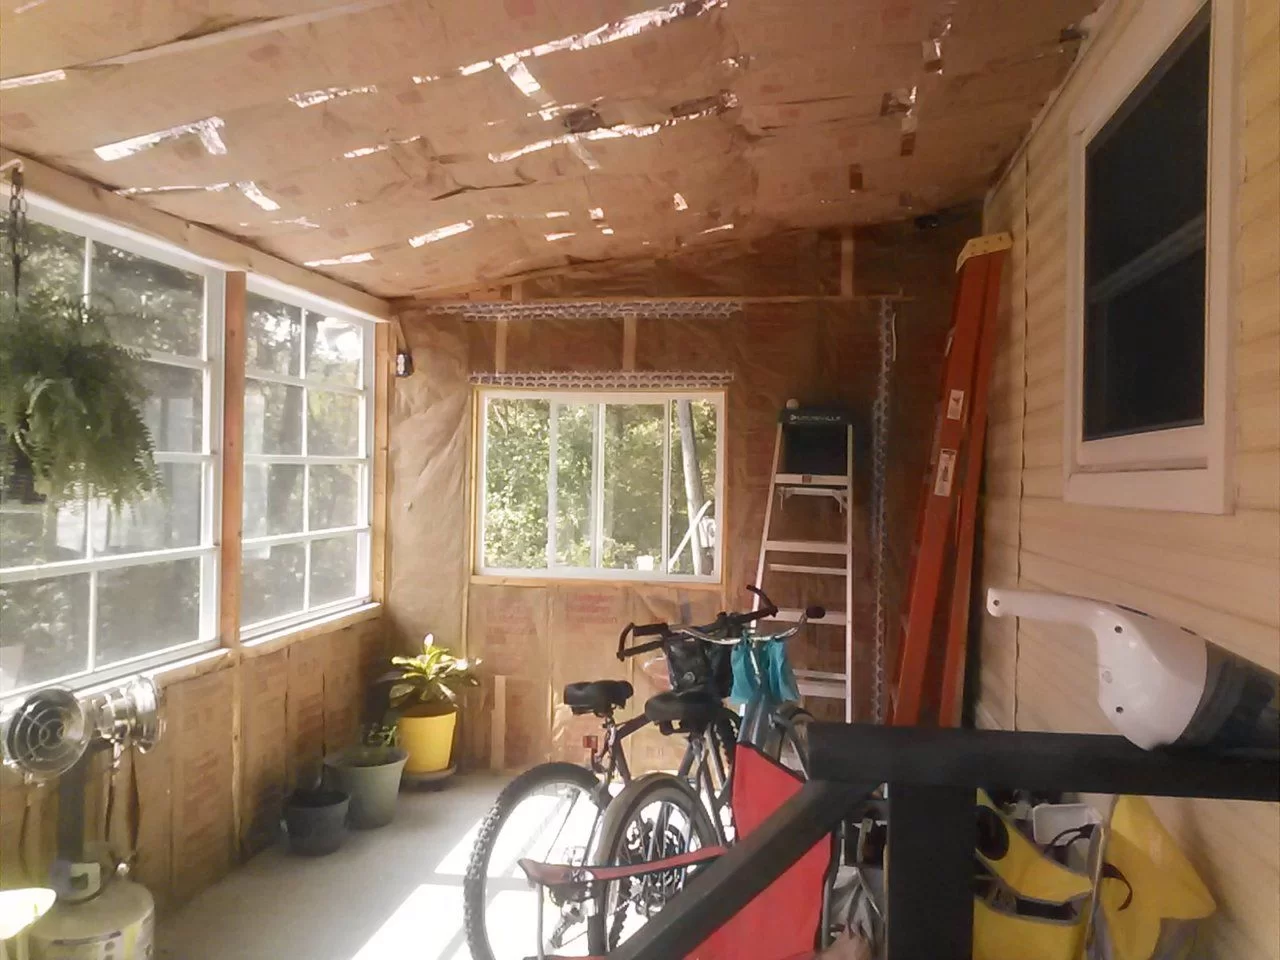
Thimble is in the lower corner where the yellow pot is.
As for the way the vent, I 45'd from the stove to the tee sideways under the window 7 ft horizontal ( I'm allowed 10 horizontal with a minimum of 3' up.) I have 4- up. Then 2nd ell then 6" into the hood which gives me 12" away from the vinyl siding. Actually a bit more with the addition of another wall bracket on the vertical rise. I'm allowed 18" away from the window if I have an oak, which I do. So does the outside casing of the vent get very warm ? Thanks for comments. GBY
Thimble is in the lower corner where the yellow pot is.
![[Hearth.com] Cutting Pellet Vent - Vent Length](https://www.hearth.com/talk/data/attachments/215/215413-0bad81934a54e8bf8f0b46b544172f1d.jpg?hash=nfJndJ-B4h "[Hearth.com] Cutting Pellet Vent - Vent Length")
![[Hearth.com] Cutting Pellet Vent - Vent Length](https://www.hearth.com/talk/data/attachments/215/215415-8be84965e6329831a844631ee77bfbeb.jpg?hash=gd80RrDK56 "[Hearth.com] Cutting Pellet Vent - Vent Length")