Hello all,
New member here but like so many people I've read plenty from the site for a long time. Thought maybe I had a chance to give back and share a project story along the way.
We have a replica-style historic home with a combination oil and wood/coal furnace in the basement with forced hot air. The living space is about 1,900 SqFt and we have 3 fireplaces and one of them is quite large.
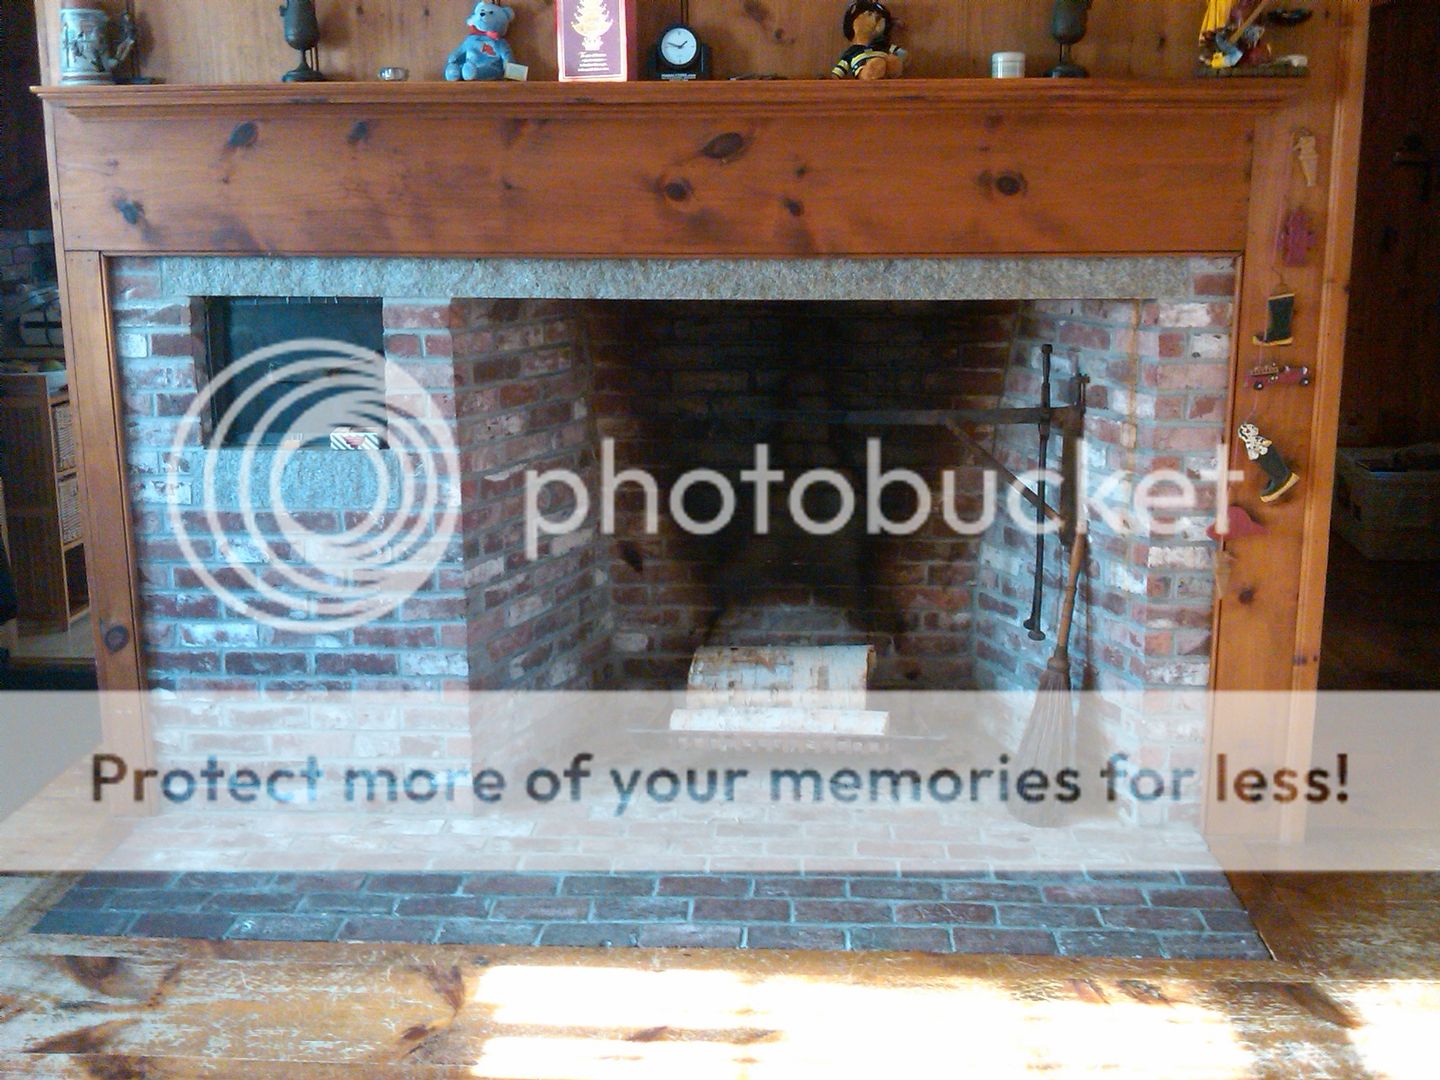
When ever we light this fire it sucks all the heat out of the rest of the house real quick. We also loose power in bad storms, and we can be without it for quite a while sometimes. We decided to put a stove in the fireplace and we picked the Jotul Rangeley F 50 TL so we could get heat and cook at the same time if we needed to.
I ordered the stove and a SS chimney liner with the insulation and accessories from a local fireplace store. I took the damper and the hardware off the chimney and stored it out of the way on the smoke shelf incase I ever need it again.

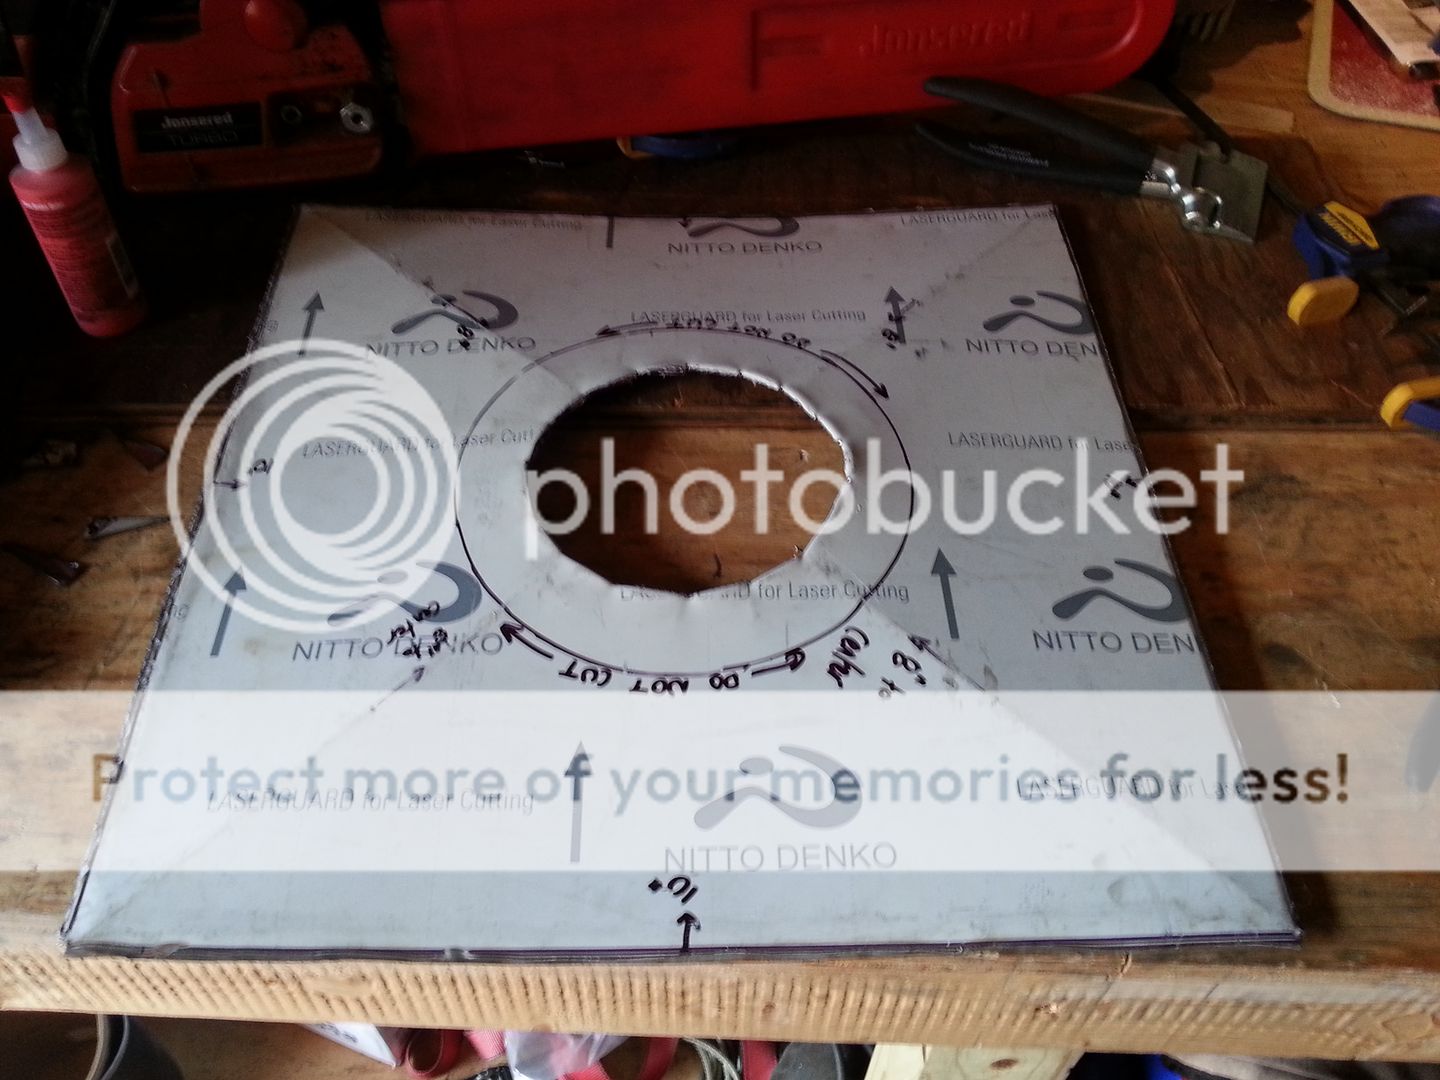
I had a friend of mine cut me a square of heavy gauge stainless steel and put 2 cross ribs in it. I then cut a circular hole in the middle to allow the SS liner to fit through. (I left the protective film on until it was installed)
Up on the roof I snaked the liner down into the chimney and fed it through the damper. I did have to oval it just a little at the bottom to make it fit . I packed all around the top and sides with Roxul R23 comfortbatt stone wool that I bought at Home Depot - as far down as I could stuff it.
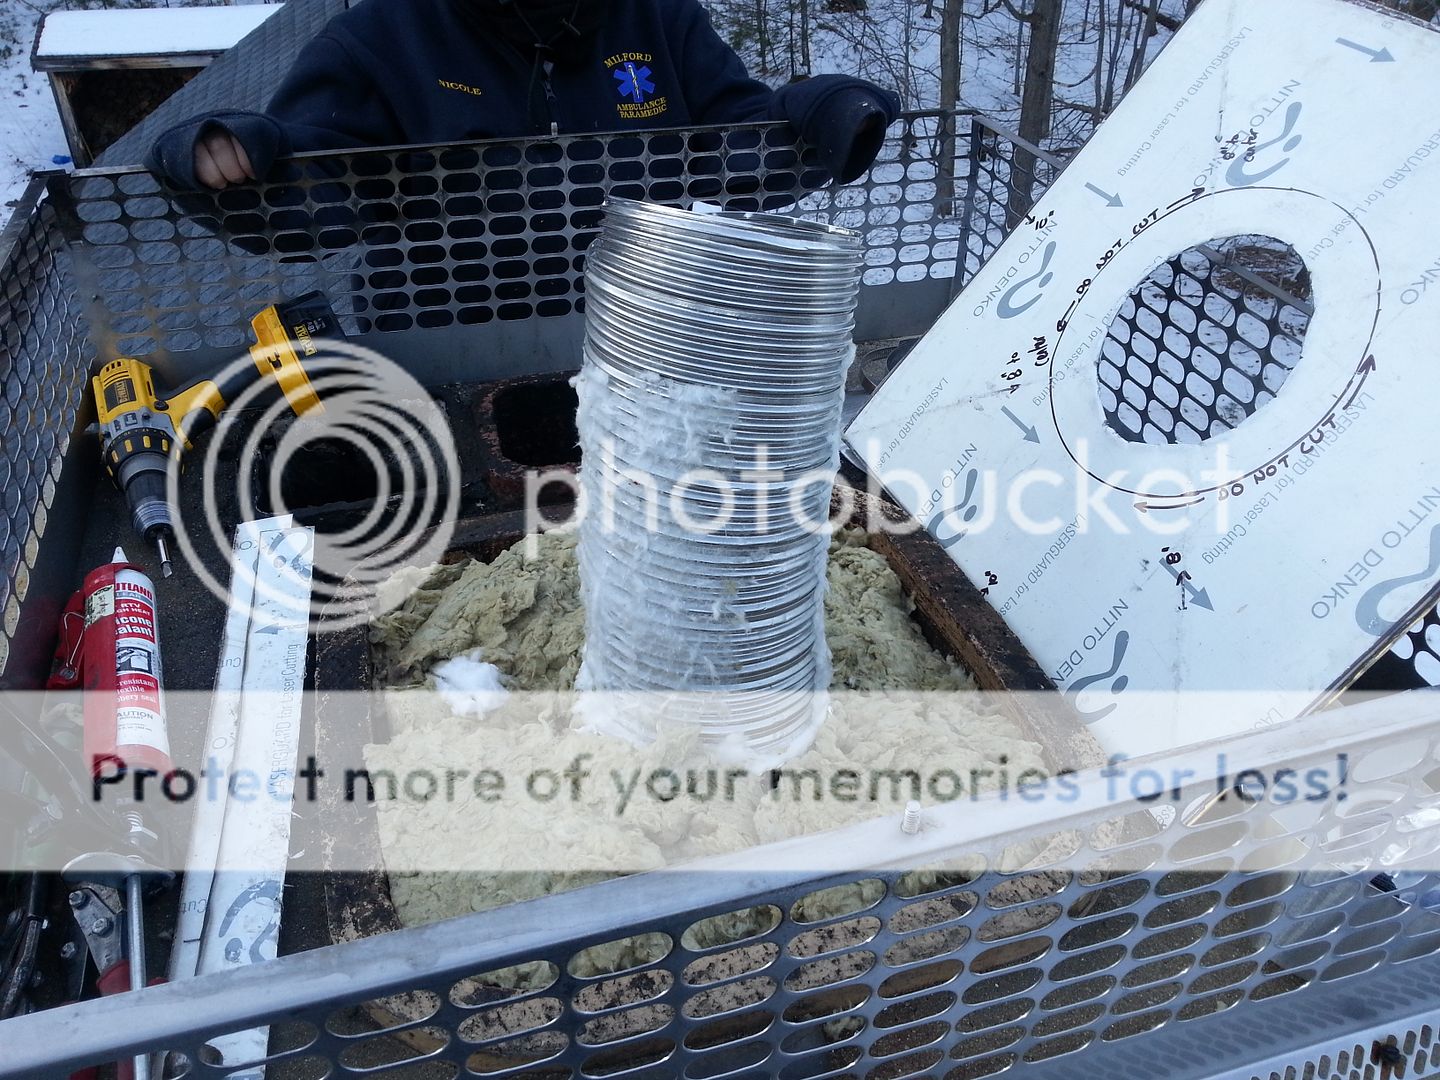
I trimmed back the insulation, shortened the liner to the right height, ran a bead of HT silicone around the terracotta liner, placed the cap over the top, used the rain collar and it's clamp that came in the liner kit to hold everything in place and replaced the top of my chimney cap.
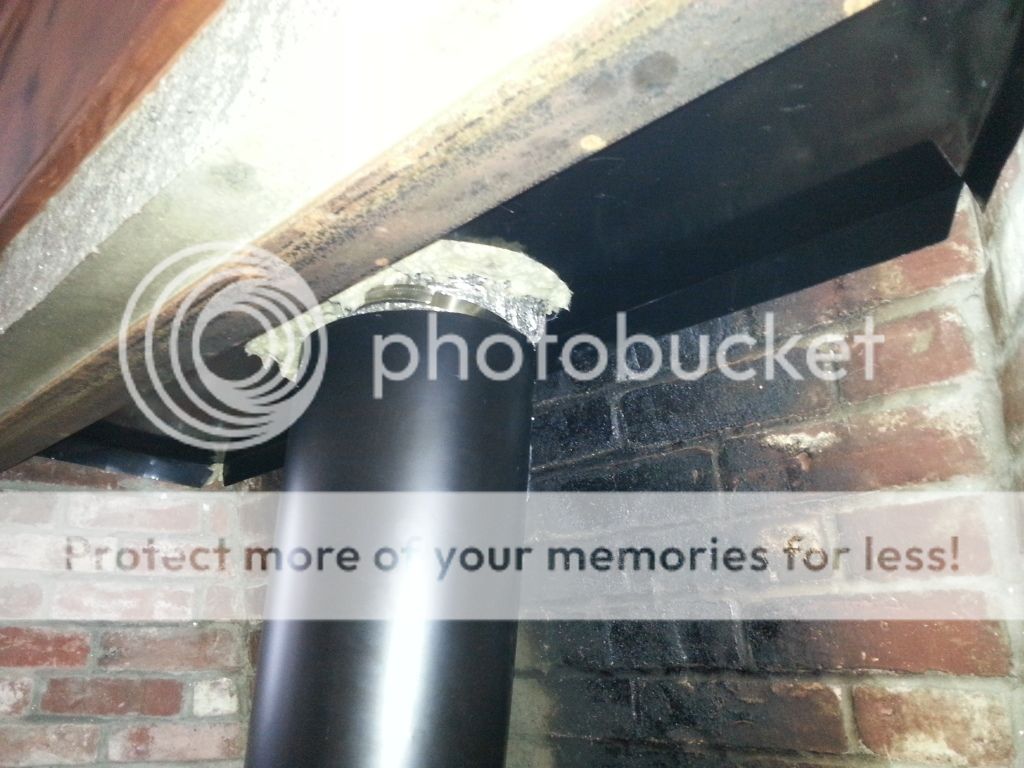
Inside I had a block-off plate made by my buddy and I painted it with black stove paint. I packed above the plate with Roxul too ... as much as I could fit.
I bought a 2' piece of black stove pipe and I cut it down to just a few inches. This way I could attach it to the end of the liner and then attach that to the opening on the stove. I felt better about having the liner get as close to the stove as possible. The left over piece of black pipe I stretched open just a little bit and wrapped it around the SS liner to hide it. It gave it that finished look like the black pipe was meant to be there.
We then went through the first couple of fires and heating / cooling break-in periods as recommended by the manufacturer. Here's what we were left with when everything was finished and we could finally light a good fire in her belly ....
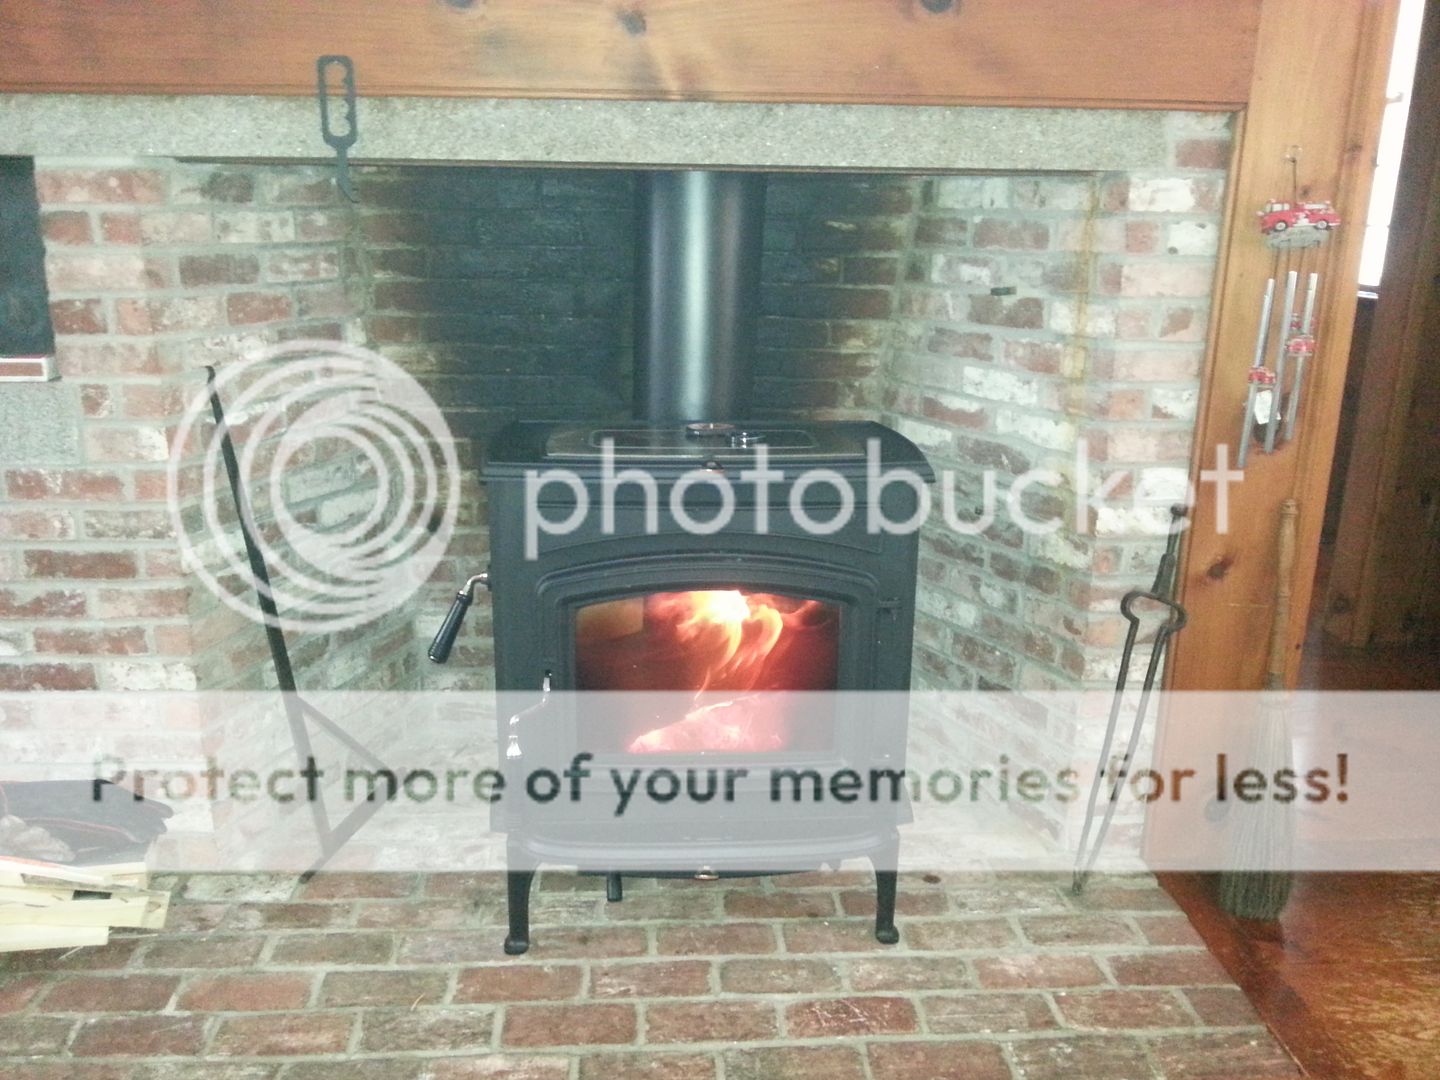
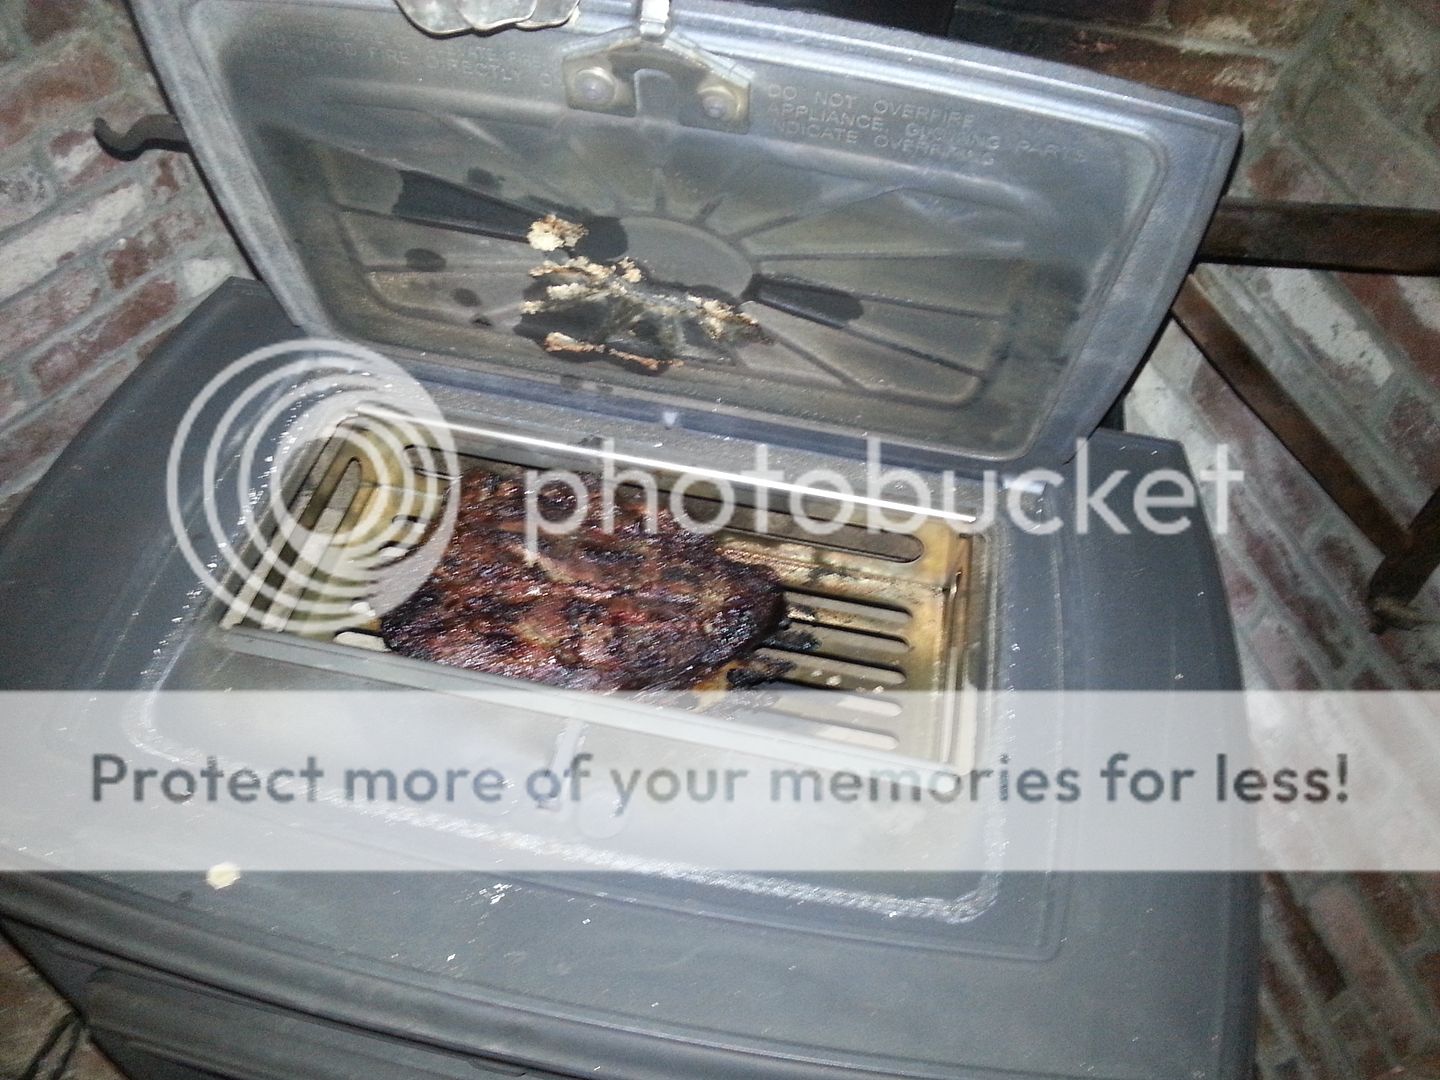
We are loving the stove. It gives off a great amount of heat. We did get the spark screen accessory and the wintergrill. I love BBQ, especially brisket so I have been throwing briskets and chuck roasts and pork butts (cut to fit) in to the wintergrill and letting them smoke away for hours. Works better on warmer days when the stove is running a little cooler. On very cold days when we have the stove cranking it's better for chicken or steaks or burgers.
Of course the top of the stove is great for baking bread in a cast iron pot ...

And a few potatoes wrapped in aluminum foil cook nicely inside the fire box ... but I ate them before I remembered to get a photo.
Thanks to everyone who's previous posts helped me to gather all the knowledge to pull this off. Gotta go, need to throw another few logs in the stove. This should last me a while .....
New member here but like so many people I've read plenty from the site for a long time. Thought maybe I had a chance to give back and share a project story along the way.
We have a replica-style historic home with a combination oil and wood/coal furnace in the basement with forced hot air. The living space is about 1,900 SqFt and we have 3 fireplaces and one of them is quite large.

When ever we light this fire it sucks all the heat out of the rest of the house real quick. We also loose power in bad storms, and we can be without it for quite a while sometimes. We decided to put a stove in the fireplace and we picked the Jotul Rangeley F 50 TL so we could get heat and cook at the same time if we needed to.
I ordered the stove and a SS chimney liner with the insulation and accessories from a local fireplace store. I took the damper and the hardware off the chimney and stored it out of the way on the smoke shelf incase I ever need it again.

I had a friend of mine cut me a square of heavy gauge stainless steel and put 2 cross ribs in it. I then cut a circular hole in the middle to allow the SS liner to fit through. (I left the protective film on until it was installed)

Up on the roof I snaked the liner down into the chimney and fed it through the damper. I did have to oval it just a little at the bottom to make it fit . I packed all around the top and sides with Roxul R23 comfortbatt stone wool that I bought at Home Depot - as far down as I could stuff it.

I trimmed back the insulation, shortened the liner to the right height, ran a bead of HT silicone around the terracotta liner, placed the cap over the top, used the rain collar and it's clamp that came in the liner kit to hold everything in place and replaced the top of my chimney cap.
Inside I had a block-off plate made by my buddy and I painted it with black stove paint. I packed above the plate with Roxul too ... as much as I could fit.
I bought a 2' piece of black stove pipe and I cut it down to just a few inches. This way I could attach it to the end of the liner and then attach that to the opening on the stove. I felt better about having the liner get as close to the stove as possible. The left over piece of black pipe I stretched open just a little bit and wrapped it around the SS liner to hide it. It gave it that finished look like the black pipe was meant to be there.

We then went through the first couple of fires and heating / cooling break-in periods as recommended by the manufacturer. Here's what we were left with when everything was finished and we could finally light a good fire in her belly ....

We are loving the stove. It gives off a great amount of heat. We did get the spark screen accessory and the wintergrill. I love BBQ, especially brisket so I have been throwing briskets and chuck roasts and pork butts (cut to fit) in to the wintergrill and letting them smoke away for hours. Works better on warmer days when the stove is running a little cooler. On very cold days when we have the stove cranking it's better for chicken or steaks or burgers.

Of course the top of the stove is great for baking bread in a cast iron pot ...

And a few potatoes wrapped in aluminum foil cook nicely inside the fire box ... but I ate them before I remembered to get a photo.
Thanks to everyone who's previous posts helped me to gather all the knowledge to pull this off. Gotta go, need to throw another few logs in the stove. This should last me a while .....


