Hello
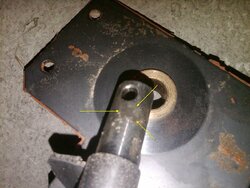
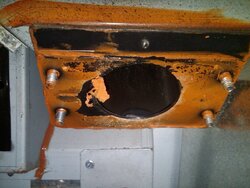
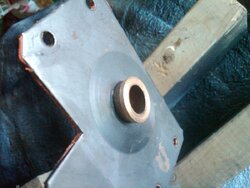
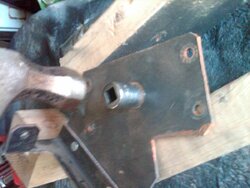
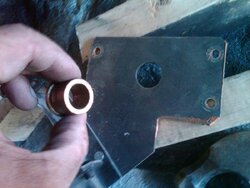
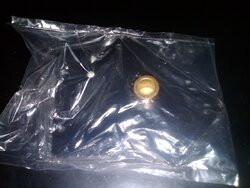
I want to replace the Travis Auger brass collar in the Astoria Auger Bushing plate. I removed the auger motor and the auger plate screws but wow is that plate stuck on! Looks like there is high temp RTV behind it!
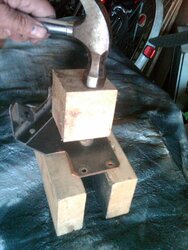
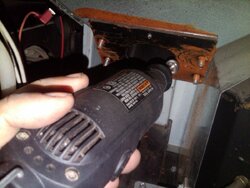
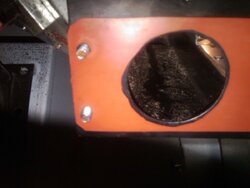
How do you pry this off?
Instructions look easy but that plate is stuck on!
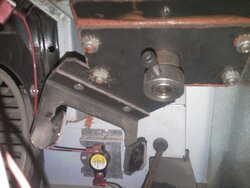
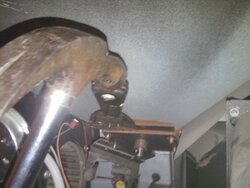
1 For stoves, remove the rear panel (see page 3-1). For inserts, remove the surround panels and pull the insert out to access the rear (see page 3-2).
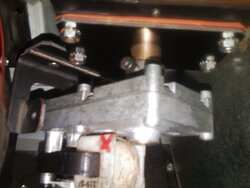
2 Remove the auger motor following the directions on the previous page.
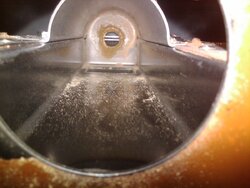
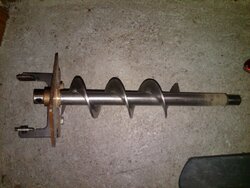
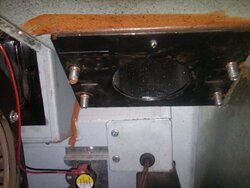
3 Remove the lower auger bushing plate following the directions below. The auger flight can now be slid
out of the auger (on inserts you will need to lift the rear edge of the appliance slightly).
I want to replace the Travis Auger brass collar in the Astoria Auger Bushing plate. I removed the auger motor and the auger plate screws but wow is that plate stuck on! Looks like there is high temp RTV behind it!
How do you pry this off?
Instructions look easy but that plate is stuck on!
1 For stoves, remove the rear panel (see page 3-1). For inserts, remove the surround panels and pull the insert out to access the rear (see page 3-2).
2 Remove the auger motor following the directions on the previous page.
3 Remove the lower auger bushing plate following the directions below. The auger flight can now be slid
out of the auger (on inserts you will need to lift the rear edge of the appliance slightly).


")
")