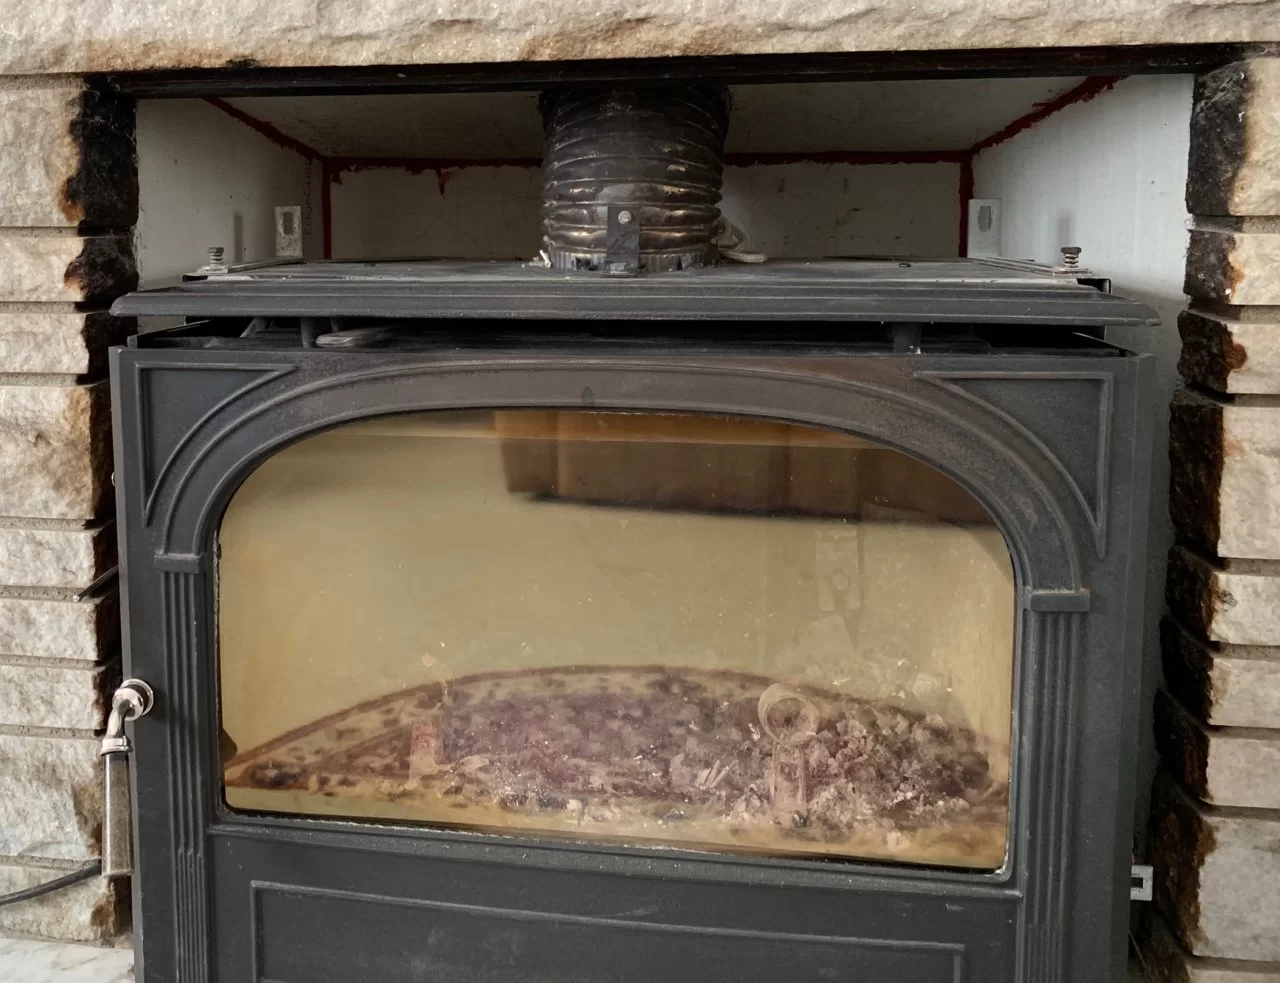
Just looking at the spec sheet for Durock NexGen at https://www.usg.com/content/dam/USG...ck-next-gen-cement-board-datasheet-en-can.pdf
Avoid exposure to sustained temperatures exceeding 93°C(200°F).
Hmm, wonder how warm it is where my pipe goes up through it?
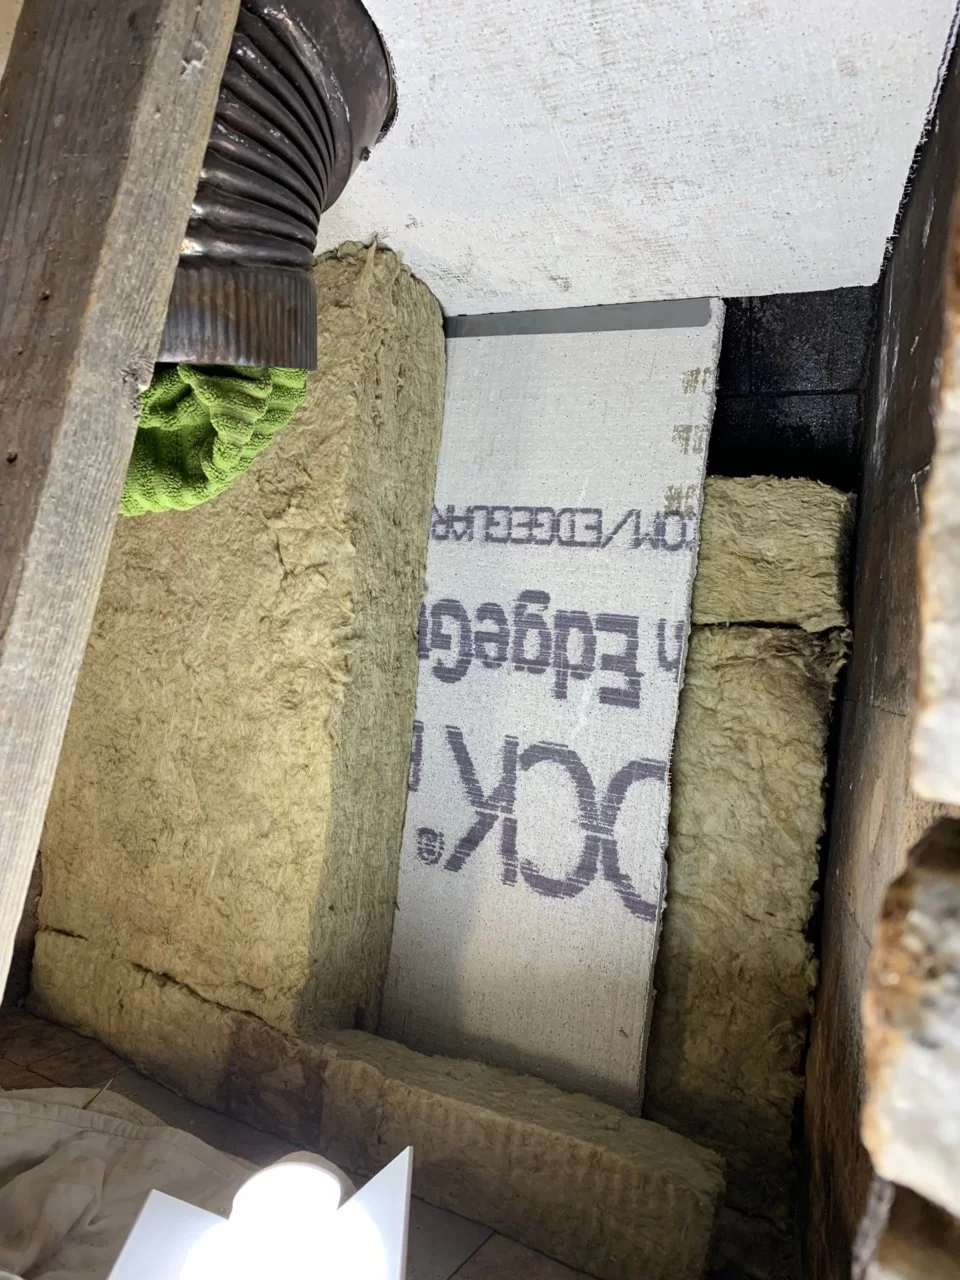
Durock discussion
![[Hearth.com] Finally got around to insulating my fireplace](https://www.hearth.com/talk/data/attachments/238/238063-130e812d47209b0806af69a4bdd034bf.jpg?hash=pcGO1vQL8e "[Hearth.com] Finally got around to insulating my fireplace")
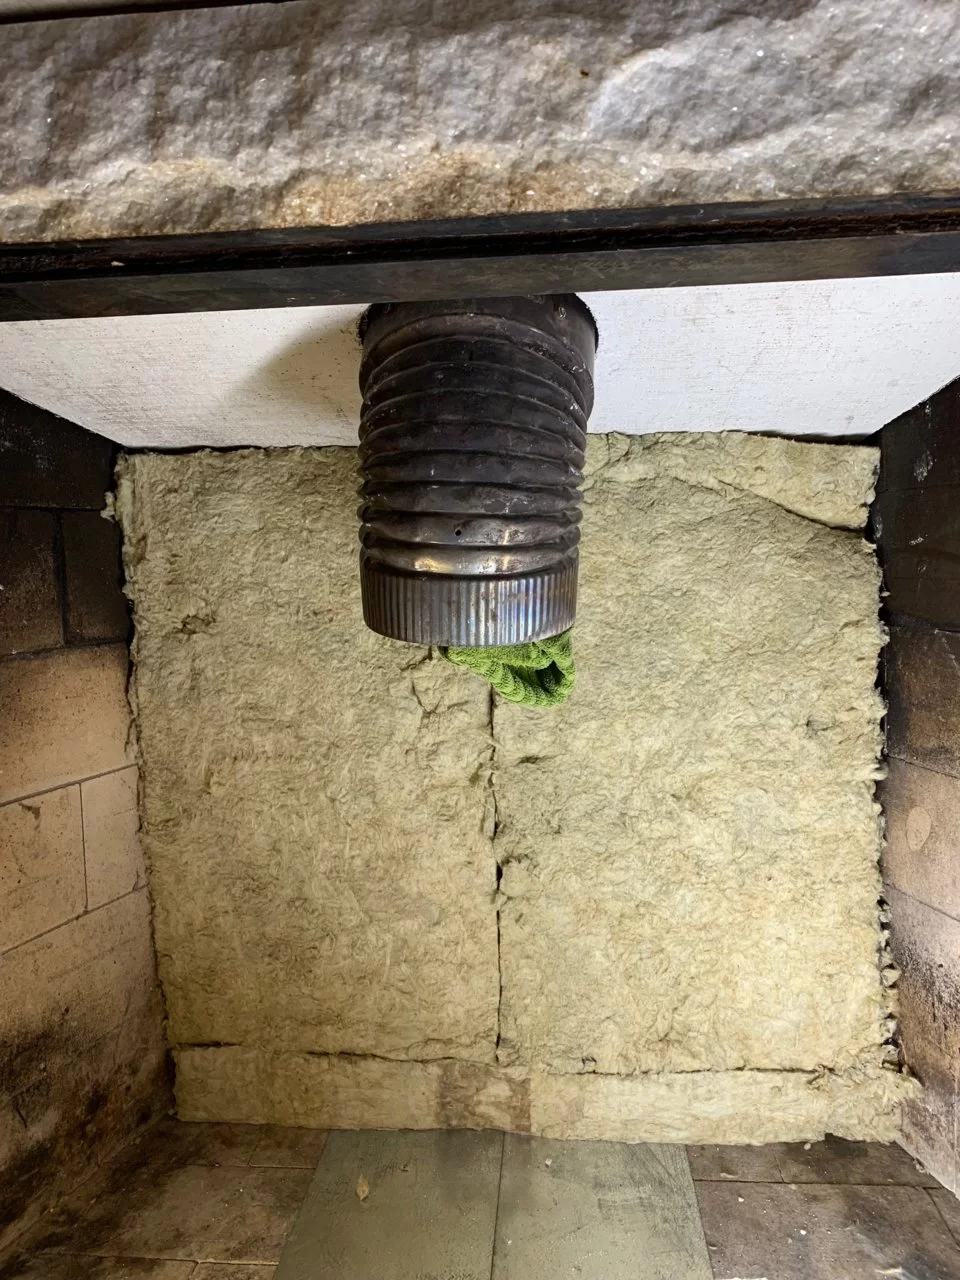
![[Hearth.com] Finally got around to insulating my fireplace](https://www.hearth.com/talk/data/attachments/238/238064-2558c4bce24c93f0e9bdc13e2b8bc59b.jpg?hash=P4NobnpjP2 "[Hearth.com] Finally got around to insulating my fireplace")
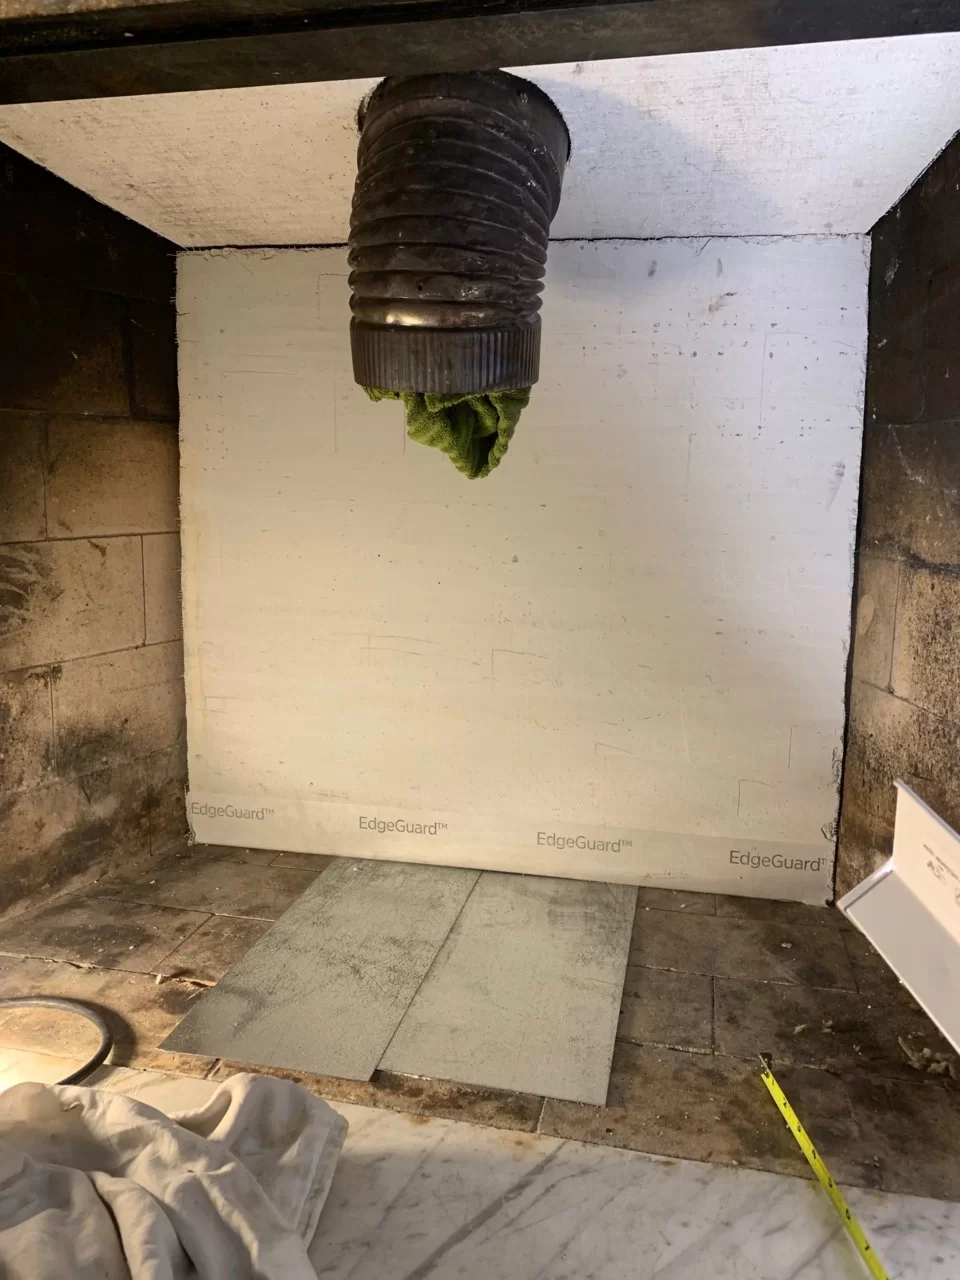
![[Hearth.com] Finally got around to insulating my fireplace](https://www.hearth.com/talk/data/attachments/238/238065-29e613661df12040b6b09457fcb689d1.jpg?hash=fWdkOr79on "[Hearth.com] Finally got around to insulating my fireplace")
![[Hearth.com] Finally got around to insulating my fireplace](https://www.hearth.com/talk/data/attachments/238/238066-22c3844b08ed838d039fbbfaa219df82.jpg?hash=f7hlefiY9V "[Hearth.com] Finally got around to insulating my fireplace")
![[Hearth.com] Finally got around to insulating my fireplace](https://www.hearth.com/talk/data/attachments/238/238067-a2385293f1a34c12166211e8be8d874e.jpg?hash=7ZDyXCs_qg "[Hearth.com] Finally got around to insulating my fireplace")
![[Hearth.com] Finally got around to insulating my fireplace](https://www.hearth.com/talk/data/attachments/238/238068-205b503750db1bb91c9738fb8ed2287c.jpg?hash=nAqT15Bjqh "[Hearth.com] Finally got around to insulating my fireplace")
![[Hearth.com] Finally got around to insulating my fireplace](https://www.hearth.com/talk/data/attachments/238/238075-9c157c3d8deb0599c253364eea4e9977.jpg?hash=DN8RKcsgUV "[Hearth.com] Finally got around to insulating my fireplace")
![[Hearth.com] Finally got around to insulating my fireplace](https://www.hearth.com/talk/data/attachments/238/238076-dca0c7326557a69961cca44a9670729d.jpg?hash=WA_66lCg80 "[Hearth.com] Finally got around to insulating my fireplace")
![[Hearth.com] Finally got around to insulating my fireplace](https://www.hearth.com/talk/data/attachments/238/238634-71f72b19fe3b93d929adca6efe1f5a7a.jpg?hash=vHlrxbbP0N "[Hearth.com] Finally got around to insulating my fireplace")
![[Hearth.com] Finally got around to insulating my fireplace](https://www.hearth.com/talk/data/attachments/238/238635-62162aac309d5a87c17ea2c332609211.jpg?hash=Ixdor_ki0b "[Hearth.com] Finally got around to insulating my fireplace")
")